
The Ultimate Guide to Hanging Curtains Like an Interior Designer
Hanging curtains can feel like a mathematically frustrating and physically daunting chore, often resulting in an awkward setup that leaves a room looking unfinished. A beautifully decorated space with poorly hung curtains is like a stunning tailored outfit paired with pants that are two sizes too small—it completely disrupts the intended aesthetic. By following a few architectural rules and precise measurements, you can instantly soften a structural space, elevate your room's mood, and make your ceilings look significantly taller. Over the years, I've found that getting this right is the single easiest way to transform a room's entire atmosphere.
The Golden Rule of Drapery: Go High and Wide
If you want to know the foundational secret weapon of interior designers, just repeat this mantra before you pick up a drill: High and Wide. This simple principle is about tricking the eye to elevate the entire room's aesthetic.
Drawing the eye upward creates an optical illusion that visually raises the ceiling, making the space feel far more expansive than its true footprint. Simultaneously, extending the fabric horizontally past the window trim maximizes the aperture of the glass. This allows natural light to flood the room unobstructed while framing the window perfectly. Applying this single architectural adjustment can make a room feel dramatically larger and more inviting.

If your living room already has awkward proportions to contend with—like a sunken seating area or unusual layout—getting the vertical lines right matters even more. For a deeper dive into fixing tricky layouts, see our guide on how to fix a bowling-alley-shaped living room.
Exactly How High Should You Hang Your Curtain Rod?
Working with standard-sized textiles in non-standard rooms can be incredibly frustrating. I've seen countless homeowners and DIYers struggle with this exact issue when trying to achieve a custom look on a budget. However, these vertical measurement rules are prescriptive yet adaptable to your room's specific geometry. They ensure the vertical scale of your room is balanced, much like choosing the right rug size to anchor your sofa.
Standard 8-Foot (2.4-Meter) Ceilings
For a standard 8-foot (2.4 m) ceiling, you should mount the rod 4 to 8 inches (10 to 20 cm) above the top window casing. This typically places the hardware roughly 2 to 3 inches (5 to 7.5 cm) below the ceiling line. Hugging this ceiling line is crucial because it draws the eye up and completely prevents the room from feeling squat or compressed.
9-Foot to 10-Foot (2.7-Meter to 3.0-Meter) Ceilings
If you are blessed with standard taller ceilings, the guideline shifts slightly to balance the proportions. Mount the rod 8 to 12 inches (20 to 30 cm) above the trim, which usually lands halfway between the window trim and the ceiling. This strategic placement balances the negative wall space above the window, preventing the rod from looking disconnected and floating arbitrarily on a massive blank wall.
Rooms with Crown Molding or Vaulted Ceilings
Architectural edge cases require a tailored, crisp finish. For rooms with crown molding, the curtain rod should sit 1 to 3 inches (2.5 to 7.5 cm) directly below the bottom edge of the trim. If you are working with cathedral or vaulted ceilings, anchor the treatment by mounting the rod 8 to 10 inches (20 to 25 cm) above the window frame, which frames the space beautifully without pushing excessively high into the vault.
Exactly How Wide Should the Curtain Rod Extend?
Horizontal measurements are equally critical but frequently overlooked by well-meaning DIYers. Nailing the width is how you beautifully filter harsh light while ensuring the textiles don't strangle your windows.
Understanding Stackback
Stackback is the physical wall real estate the gathered fabric requires when your curtains are fully drawn open. To accommodate this, extend the rod 6 to 15 inches (15 to 38 cm) past the side casings on each side of the window. This ensures the glass is 100% unobstructed, framing the window with luxurious fabric rather than eclipsing your natural light.
Hardware Scale and Proportion
A grand curtain arrangement requires appropriate structural support, meaning you need to pay attention to your hardware. Opt for thicker rod diameters—at least 1.25 inches (3 cm)—for wide windows to prevent center sagging, which immediately ruins a luxury aesthetic. Also, always remember to exclude the length of your decorative finials (the end caps on the rod) when calculating the rod width for your actual fabric coverage.
The Mathematical Formulas for Perfect Curtain Fullness
Investing in quality brass hardware or custom linen pinch-pleat drapes is essential to support the high and wide aesthetic. However, even the most expensive, gorgeous fabric will look cheap if you don't buy enough of it to properly fill the space.
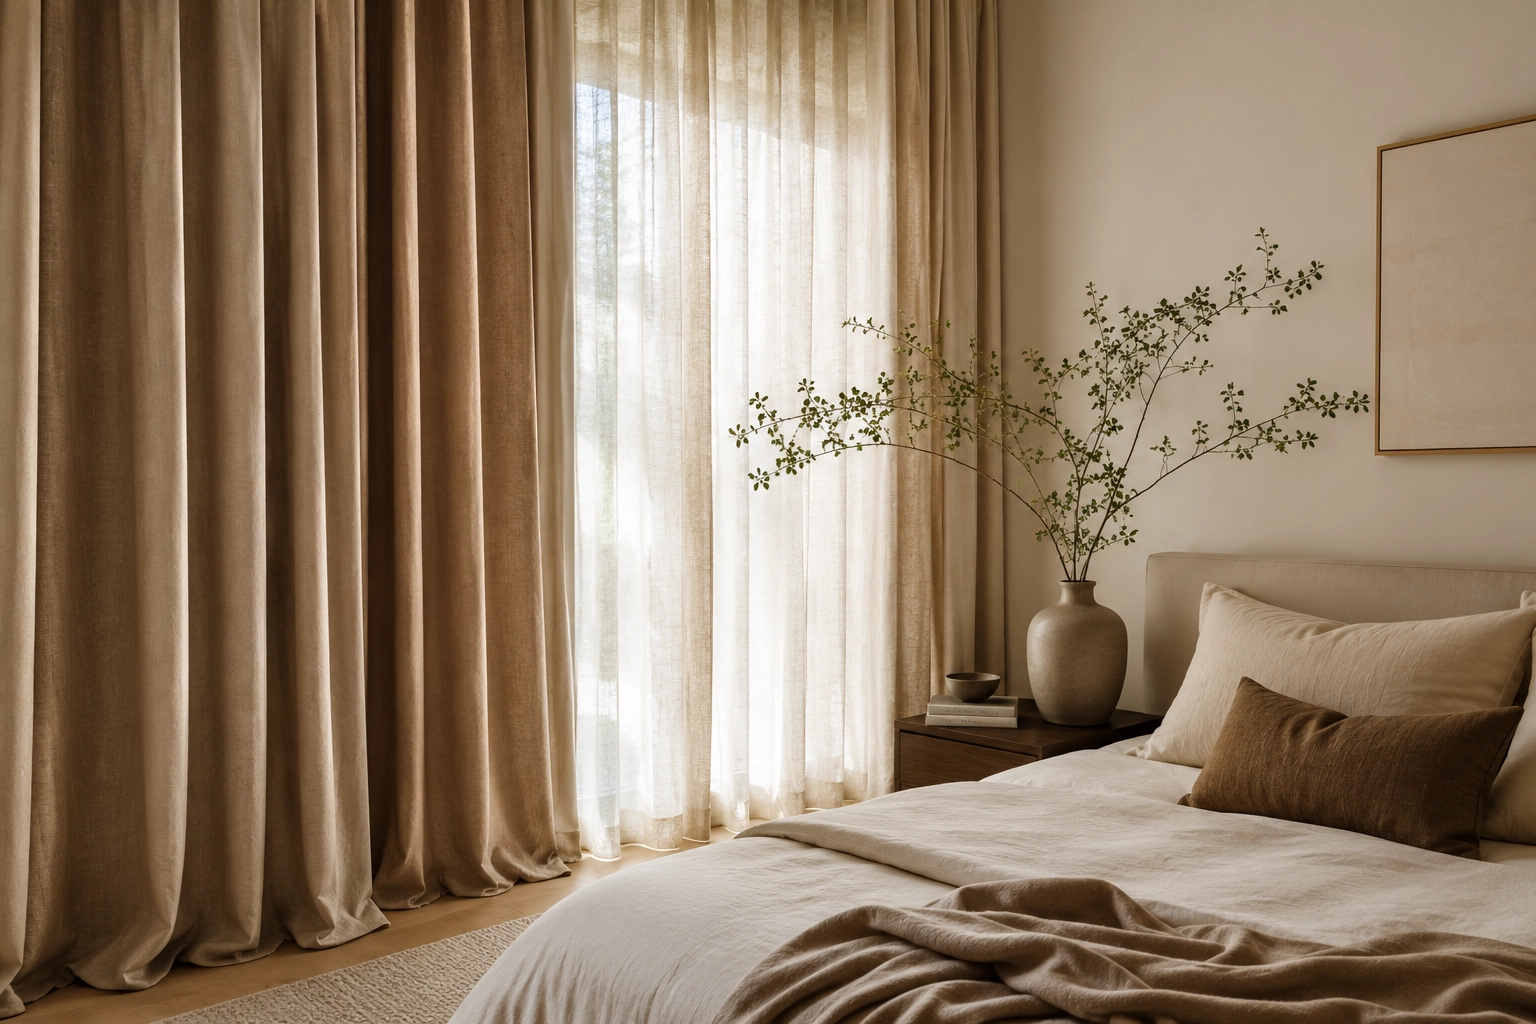
Why Buying to the Exact Window Width Leaves Curtains Looking Flat
The most common purchasing mistake is the 1:1 ratio. Buying a 50-inch (127 cm) panel for a 50-inch window results in a taut, sheet-like appearance when pulled closed. Curtains require excess fabric to create the lush folds, pleats, and shadows that signify high-end, bespoke design.
The Fullness Multiplier Guide
To get that elevated, voluminous look, you must multiply your rod width to determine the total panel width required.
| Look / Fabric Type | Multiplier | Example Calculation for a 50-inch (127 cm) Rod |
|---|---|---|
| Sheers & Lightweight | 1.5x | 75 inches (190 cm) of total fabric width |
| Standard Everyday | 2.0x | 100 inches (254 cm) of total fabric width |
| Luxury & Heavy Drapes | 3.0x | 150 inches (381 cm) of total fabric width |
Adjusting Width Based on Header Styles
It is vital to note the mechanical differences in how curtain tops are constructed. Custom pinch pleats have fullness built-in by the manufacturer, requiring you to order the exact rod width. Conversely, flat styles like grommet and rod-pocket panels require the manual application of the 2x multiplier at checkout to ensure they gather correctly on the rod.
Choosing the Right Curtain Length (The Drop)
The way your textiles interact with the floor is a defining element of your room's styling. Layering sheer curtains with heavy blackout drapes creates a textured, moody aesthetic that is ideal for styling a layered living room. Ultimately, the hem length is the finishing touch that brings the entire design together.
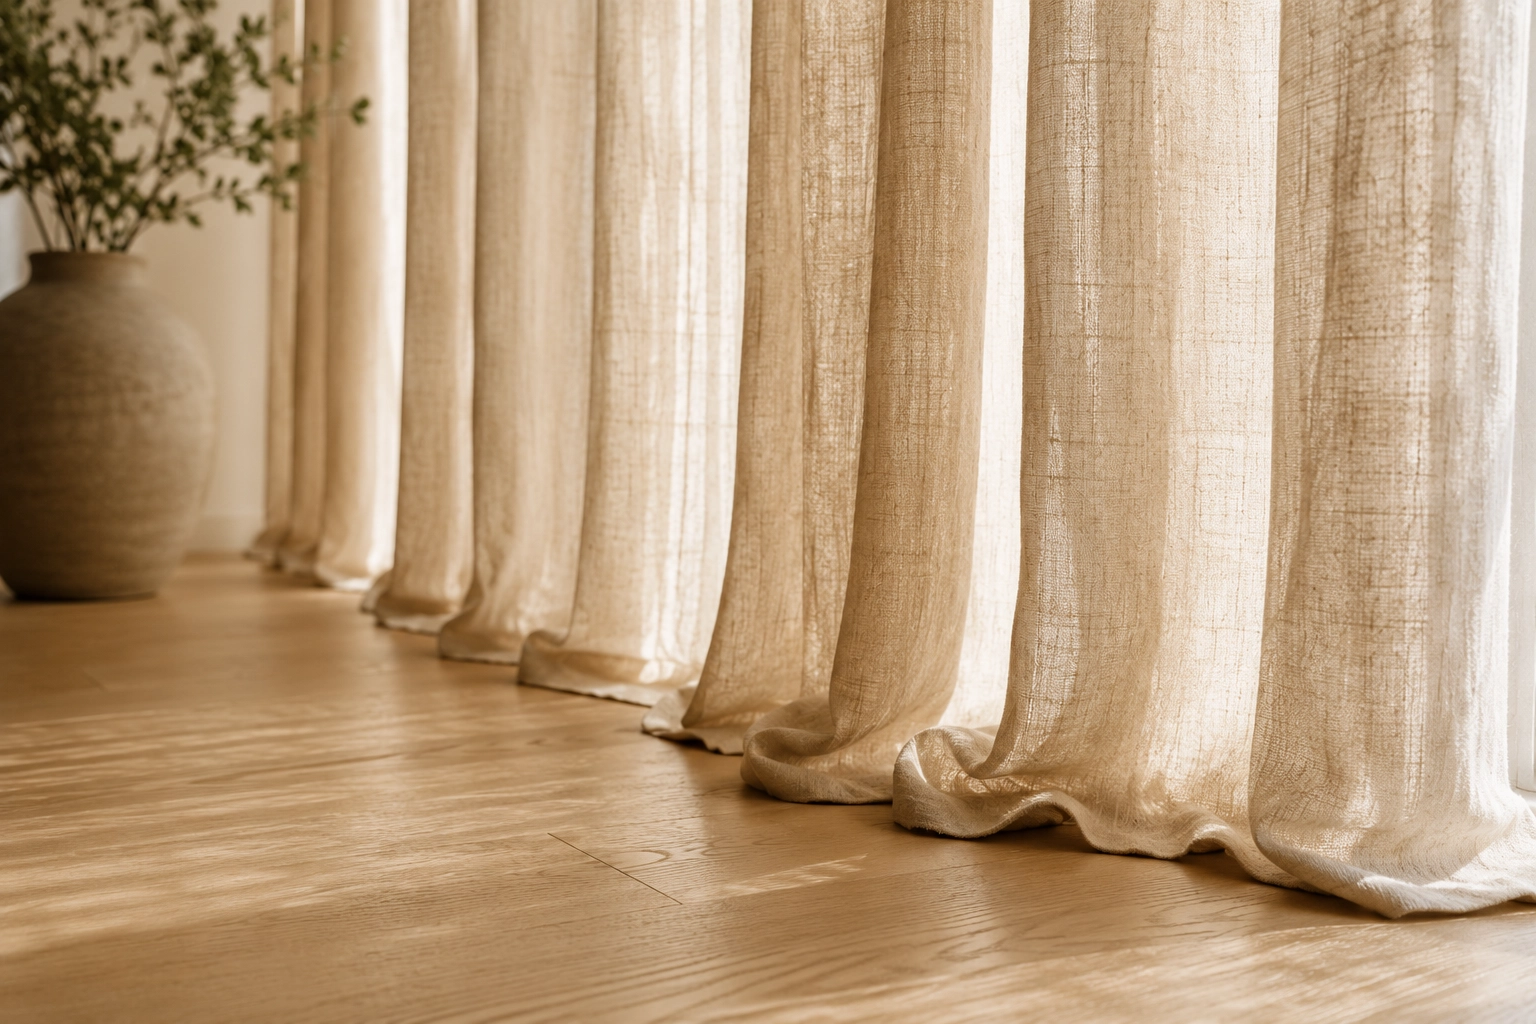
The Float (Clean and Practical)
The "float" means the curtain hovers exactly ½ to 1 inch (1.5 to 2.5 cm) above the floor. This style is highly practical and heavily advocated for kitchens, active family rooms, and homes with pets. It allows for unimpeded sweeping, mopping, and vacuuming while still looking intentional and clean.
The Kiss or The Break (Tailored and Custom)
The "kiss" barely grazes the floor, while the "break" bends slightly with 1 to 2 inches (2.5 to 5 cm) of extra fabric, mimicking a tailored trouser break. This is the preferred look for modern, elevated interior design. It provides a highly custom, bespoke finish that makes the room look meticulously curated.
The Puddle (Romantic and Dramatic)
The "puddle" features 3 to 6+ inches (7.5 to 15+ cm) of excess fabric pooling elegantly on the floor. While visually stunning and perfect for historic aesthetics or formal dining rooms, it requires a practical warning. It acts as a trap for dust and pet hair, requiring constant restyling every time you move the panels.
Step-by-Step Measuring and Installation Guide
Moving from theory to execution requires preparation. Before you start drilling holes, gather your materials. Here is exactly how to get your drapery safely and accurately onto the wall, based on reliable professional installation methods.
Essential Tools for the Job
- Metal tape measure (cloth tapes stretch and cause frustrating errors)
- Laser level (or standard bubble level)
- Step ladder
- Power drill
- Heavy-duty drywall anchors and screws
- Pencil for marking
How to Measure Accurately
Always measure from the planned rod height—not the top of the window frame—straight down to the floor. Crucially, take measurements at the left, right, and center of the wall. Floors in both historic and modern homes are rarely perfectly level. Catching these discrepancies early saves you from uneven hems later in the process.
Finding Studs and Securing Brackets
Wide, lined, or blackout fabrics are incredibly heavy. Placing brackets securely into wall studs or using robust drywall anchors are necessary safety components to prevent the hardware from tearing right out of the drywall. Place a support bracket every 3 to 4 feet (0.9 to 1.2 m) to ensure the rod remains perfectly straight and secure.
Common Curtain Hanging Mistakes to Avoid
If you accidentally fall victim to the dreaded 'high-water' curtain mistake, it can ruin the room's aesthetic and make the space feel disjointed. I always advise clients to avoid these common pitfalls to maintain a sophisticated, intentional look.
- The "High Water" Curtain — Hanging curtains that end arbitrarily at the windowsill or hover awkwardly several inches above the floor is a cardinal sin of design. This visually truncates the room, cuts off the architectural flow, and makes your ceilings look much lower than they actually are. Always bring the fabric down to the floor.
- Dinky Hardware and Skimpy Panels — Using thin, flimsy rods that visibly bend under the weight of heavy fabric immediately cheapens your investment. Likewise, pulling a single, insufficient panel tightly across a wide window looks strained and awkward. Always prioritize sturdy hardware and generous fabric fullness for a high-end feel.
Specialized Window Treatments and Edge Cases
Not every window is a perfect rectangle on a blank wall. Handling the more complex architectural features in your home requires a few specific adjustments.

Bay Windows and French Doors
For bay windows, utilize hinged corner connectors to create a seamless, continuous track around the angles. For sliding or French doors, it is crucial to factor in extreme stackback calculations. You must ensure the gathered fabric completely clears the functional pathway of the door so it doesn't impede traffic.
Renter-Friendly Solutions
If you are one of the millions of renters who cannot drill into walls, you can still achieve a custom look without violating your lease agreement. Essential renter-friendly solutions include heavy-duty tension rods, strategically placed Command hooks, or NoNo brackets. These clever no-drill brackets slide directly over existing blind headrails to support a curtain rod effortlessly.
Frequently Asked Questions
Should curtains touch the floor or hover?
Both applications are aesthetically acceptable, but interior designers generally prefer curtains to either "kiss" the floor (touching the surface exactly) or feature a slight "float" (hovering ½ to 1 inch / 1.5 to 2.5 cm above the floor). The float is highly practical for routine cleaning and high-traffic areas, while the kiss provides a custom, bespoke, tailored look that anchors the room's design. A "break" of 1 to 2 inches (2.5 to 5 cm) is also popular for a slightly relaxed, elegant appearance.
How high do you hang curtains on an 8-foot (2.4-meter) ceiling?
To maximize the visual dimensions of a room with a standard 8-foot (2.4 m) ceiling, mount the curtain rod 4 to 8 inches (10 to 20 cm) above the top of the window trim, or roughly 2 to 3 inches (5 to 7.5 cm) below the ceiling line. This strategic placement draws the eye upward, creating an optical illusion that makes the ceiling appear significantly taller than its actual physical height.
How wide should curtain panels be compared to the window?
A single flat curtain panel should never equal the exact width of the window opening. To achieve a professional, voluminous look, the total combined width of your flat curtain panels should be 1.5 to 2.5 times the total width of your curtain rod. For example, if your installed rod is 60 inches (152 cm) wide, you require 120 inches (305 cm) of total fabric width (typically achieved by purchasing two 60-inch panels) to accommodate standard 2x fullness.
What is drapery "stackback"?
Stackback refers to the physical wall space your curtains occupy when they are pushed completely open. When determining the length of the curtain rod, you must add 6 to 15 inches (15 to 38 cm) of extra rod extension on each side of the window to accommodate this stackback. This ensures that the gathered fabric rests on the wall, leaving the window glass 100% unobstructed to maximize natural light and views.
How do you measure length for grommet versus pinch pleat curtains?
The header style dictates the measurement starting point. For pinch pleat curtains hung on rings, measure from the bottom of the drapery ring to the floor. Conversely, for grommet (eyelet) curtains, measure from the top of the curtain rod to the floor, and then mathematically add the distance from the inner grommet to the top edge of the fabric (usually 1 to 1.5 inches / 2.5 to 4 cm). This addition ensures the bottom hem lands correctly without being too short.
Can I hang a curtain rod directly on the window trim?
Hanging a curtain rod directly on the wooden window trim is widely considered a major design mistake. This placement visually shortens the wall, cramps the window, and blocks significant amounts of natural light. Always mount the brackets on the drywall above and outside the window casing to create the illusion of grander architecture and a more expansive space.
Do blackout curtains require different hanging measurements?
Yes, blackout curtains require specific adjustments to prevent light leakage. When hanging blackout curtains, it is imperative to employ a larger stackback width and hang the rod higher above the frame. Furthermore, you must account for the "return"—the space from the rod back to the wall. Wrapping the blackout fabric around the return back to the drywall creates a tight seal that prevents light from bleeding out the sides of the window treatment.
How do you fix curtains that are too short?
If you suffer from the "high-water" curtain effect, you have a few viable solutions before purchasing new panels. You can lower the curtain rod slightly (though this sacrifices visual height), let out the bottom hem of the fabric to gain an extra inch or two, or utilize curtain clip rings. Using rings can instantly add 1.5 to 2 inches (4 to 5 cm) of length between the rod and the fabric.
Curtains are so much more than a functional afterthought; they are a vital layer of your home's architecture. By taking the time to measure properly and adhere to the "high and wide" rule, you can entirely transform the mood and scale of your space. Grab your tape measure, trust the math, and enjoy the beautifully tailored results.
Post a Comment for "The Golden Rules for Hanging Curtains: Height, Width & Length Explained"